I mean, we have gotten pretty good at taking selfies, but we thought we would take some time and get some real pictures taken for once. So we had our engagement pictures taken by the amazing CelineRachelle this weekend, her husband also came along to help out. She captured us exactly as I wanted, she’s so good at knowing personality styles and portraying that in her photos. I love the colors and everything about our shoot. She even edited them pretty quickly. I just had to share some of my favorites.
Our Wedding will be on April 22 in the Mt. Timpanogos, Utah Temple.
I love this man!
Yes, it was a cold day. Because Idaho. But it brings out the pink in our cheeks, right.
Okay saving these best two for last.
Celine, you’re one talented girl. THANK YOU.
Also, thank you to the Baylee for curling ma haiiirr.
For my last and final week of this documentary. I just have a couple edits to make, and then it premieres on channel 8 this upcoming January. I have learned a ton from this project. Lighting, audio, and stability were the biggest things that I focused on in my documentary. Because my black magic didn’t have the tripod to go with it, I had such a problem with the shots.
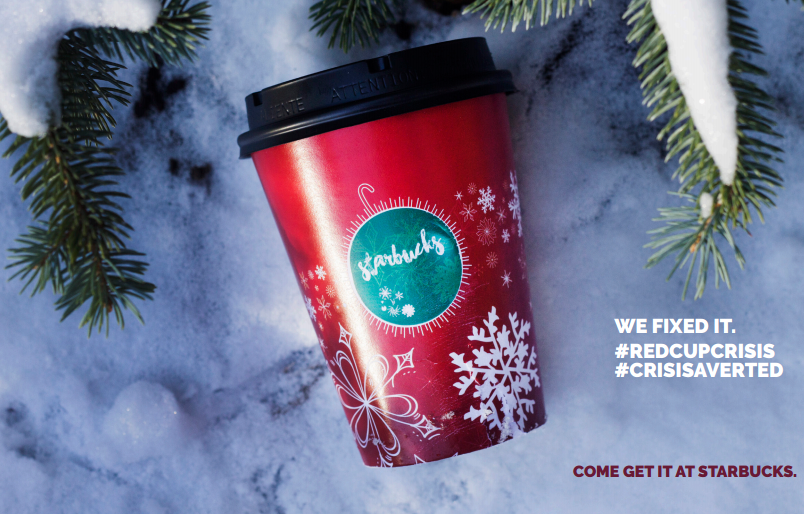
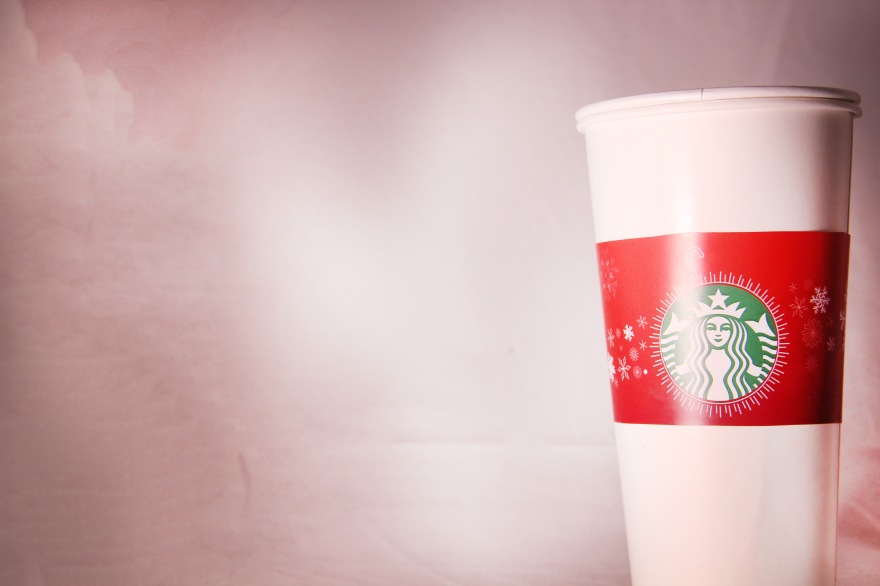
I created this advertisement as a way to really push social media platforms in a fun, creative way. This is the red cup I designed in response to the PR “scandal”of 2015. I thought it’d be a fun way to look at Starbucks.
It’s been a red-cup Christmas season, thanks to Starbucks.
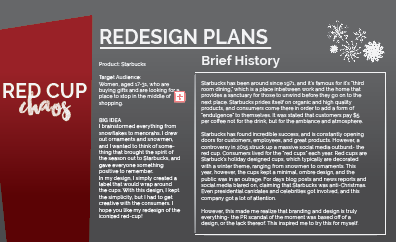
For one of my final projects of my Bachelor’s degree, we had to do a product redesign. This entailed building a new design for a company, creating an updated logo, and then actually making a real-life mock-up of what it would look like. Then, we would create a book that describes the company, the specific design elements, and design photography.
It’s been a lot of work, but I love the idea of Starbucks, and I wanted to stick with a theme similar to theirs.
Starbucks has been around since 1971,
and is famous for its third room dining,
the place between work and home that
provides a sanctuary for those to unwind
before they go on to the next place.
Starbucks prides itself on organic and high
quality products, and consumers come
there in order to add a form of “indulgence”
to their day. It was stated that customers
pay five dollars not for the drink, but for the
ambiance and atmosphere.
Starbucks has found incredible
success, and is constantly opening new
doors for customers, employees, and
new products. However, a controversy
in 2015 stuck up a massive social media
outburst- the red cup. Consumers lived
for the “red cups each year. Red cups
are Starbuck’s holiday designed cups,
which typically are decorated with a
winter theme, ranging from snowmen to
ornaments. This year, however, the cups
had a minimal, ombre design. The public
was in an outrage. For days, blog posts,
news reports, and social media blared
on, claiming that Starbucks was “anti-Christmas.”
Presidential Canidates and
celebrities got involved, and Starbucks
received a lot of attention.
This brought attention to all that
branding and design has a massive
impact on people’s perception of a
company. The PR scandal of the moment
was based off of a design, or the lack
thereof.
I decided that I wanted to create a new red cup. In it, I hand-designed tons of snowflakes, using the blob brush and rotation. After a lot of practice, things began to flow. It took me a few hours, but I finally had the design I’d been looking for.
Arranging them took tons and tons of drafts. Finally, I thought about having a lot of concentrated small snowflakes that faded into bigger ones.
At first, I was just going to create a hot-cup warmer, but it wasn’t my favorite. It wasn’t too interesting.
The biggest problem that I had was figuring out the dimensions to a cup. This required tons and tons of drafts. But, as I figured out that I could use a razor blade and apply pressure to the edges, and start from the center of the design to apply, things started really working out.
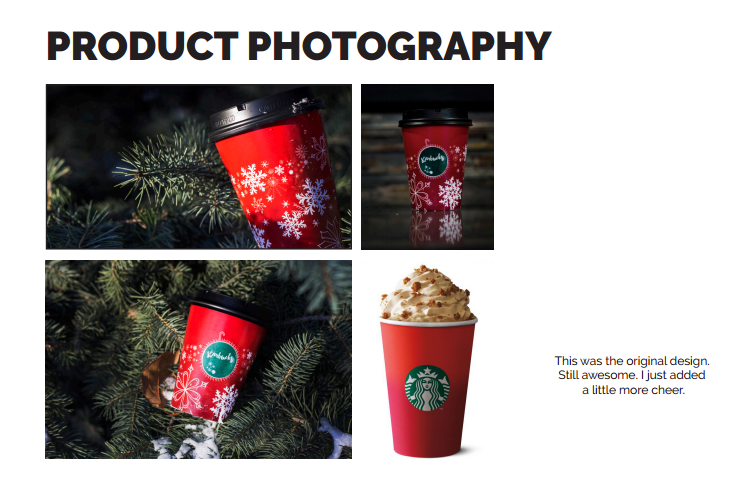
Creating the book was so fun. I put the colors here, created a layout, and worked with product photography. After all the work that I did, it was a blast finally finishing it with a grand touch.
Well, it’s been a lot of trial and error, but I finally finished creating my Red Cup design! I’ve loved it. So, I decided to take some of my photography passions and do a photoshoot with my cup. This will be going in my book, premiering this Tuesday and Wednesday. I’m so excited to show you the final product. Here’s the final cup, and my photography.
The first photo was from one of my previous designs. You can click on the images and take a closer look! I want to know what your favorite is, so I can use it in my book! Thanks so much.
Timeline November 2-4: Sketch 30 designs November 6: Vectorize November 8: Feedback and refine November 12-15: Finish vectors! November 16: Mockups , Feedback November 18-20: Decide on sizing November 20: Refine to the point of final printing
Nov. 21-22: Finish Book content and design November 23- Nov 27: Finalize, print, and present!
This week I finalized my drone footage that my friend Mike helped me with, and secured all the footage from the legacy flight museum. I also began compiling the footage that I took and created a premiere profile. I synced my b roll and my audio. All I have left is just some simple motion graphics and some final edits! I’m excited to premiere it this Monday!
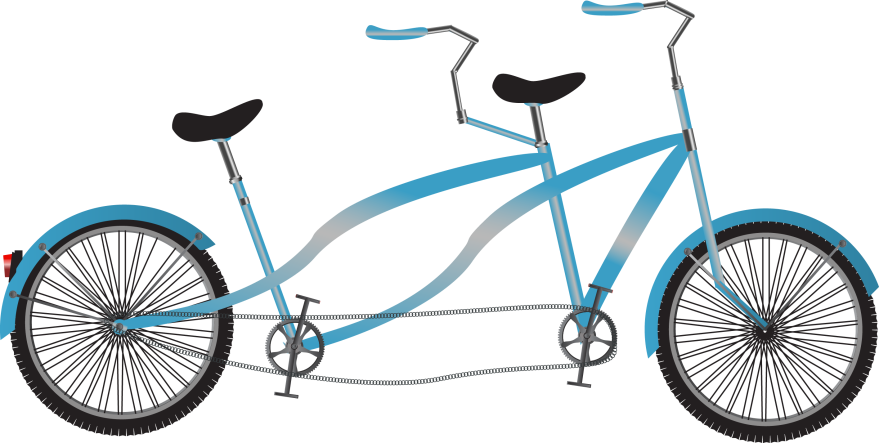
Boy, has it been a learning experience! I never understood the power of gradients, rectangles and circles until now. Who knew that something so complex could come from these simple shapes?
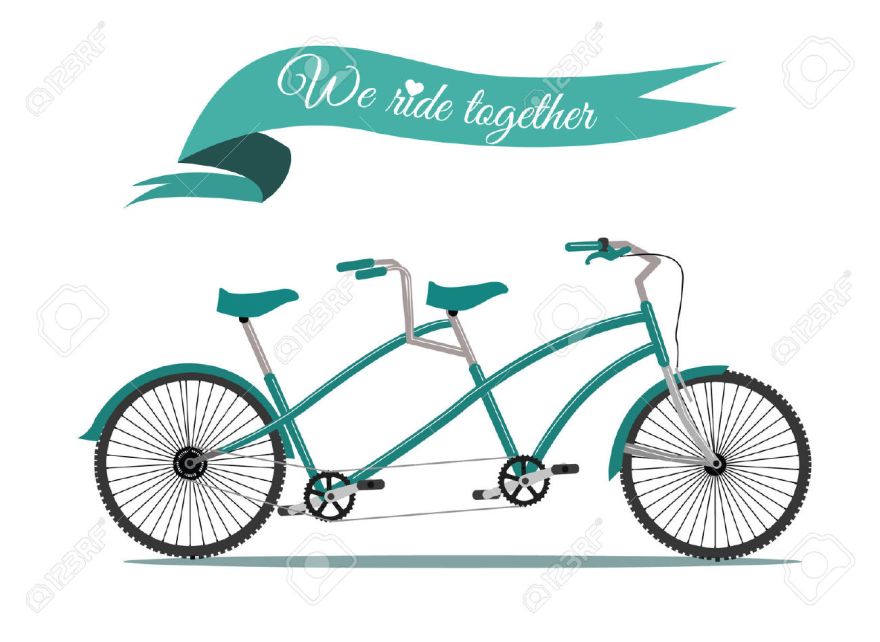
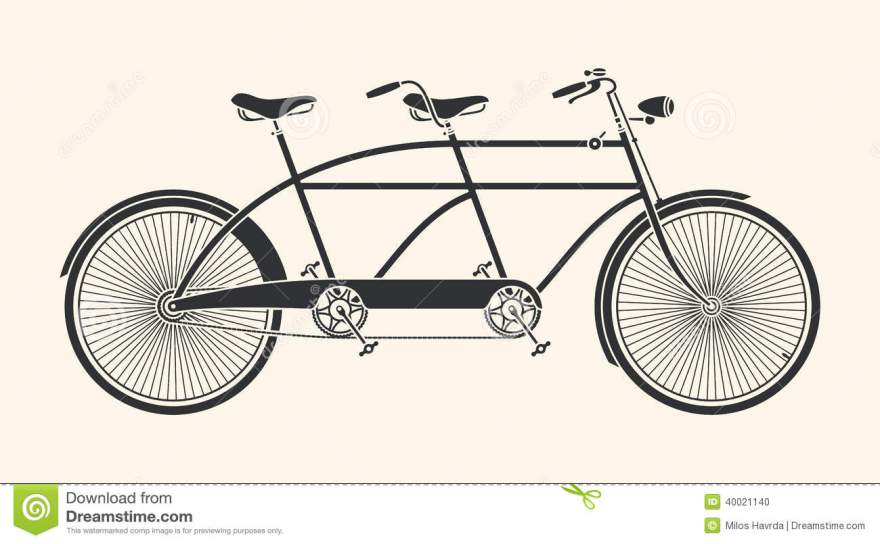
I wanted to create a tandem bike. My two style inspirations were these:
I also gained a ton of experience through watching this video:
So, I set out to sketch out my drawings. I wanted to a tandem bike, and I’m not too handy at drawing really, so these ones were pretty rough. However, my first draft helped me to really look at the elements of a tandem bike.
I wanted to play with nature a bit, but ended up scratching the idea later in order to simplify. So, this is my final product:
This was the product of dozens and dozens of hours. I used the shape builder tool, the pattern brush, and the rotation tool for things like the chain on the bike, the wheels, and the texture on the petals. The seats were mesh highlights, and the metal was created with gradients. The spacing was something I feel that could improve on, but I am so proud of this. I never thought that I could actually create something, and it taught me a ton about the power of vectors and using perspective. It was pretty sweet!
This week has been insane, and my website broke down, so here is a temporary post until I have enough time to fix it.
To give you an update, I’ve finished the beginning of my book, and I finished my cup design. (I’m waiting to reveal it…. I am so excited about this!) I love it. But here’s a sample of my book so far.
My cover will look like this, minus the pixels. (I was just dragging it into indesign to put it into the format without placing, no worries.)
Then I have my basic idea page. I think there’s a ton of text on there, so I plan on splitting it up into two pages and playing with the typography.
For the style guide, I played around with some fun ideas to give it a literal flow. I was going to make it look like hot chocolate flowing, but it got complicated and messy real fast.
(Simplicity is my new slogan.)
I also am going to showcase my snowflakes in the style guide as well.
Next, I worked on my logo. I think that for the holiday season, the starbucks logo can turn into an ornament to keep up with the holiday theme. I used the mesh tool and layers of snowflakes and transparencies and played with masks to make this!
I am excited to finish this week! It’ll be great.
I’d love some feedback, so let me know what you think.
November 2-4: Sketch 30 designs November 6: Vectorize November 8: Feedback and refine November 12-15: Finish vectors!
November 16: Mockups , Feedback
November 18-20: Decide on sizing
November 20: Refine to the point of final printing
November 23- Nov 27: Finalize, print, and present!
For my documentary, I was able to finish my script this week. Transcribing was the most time consuming thing, but I was able to really understand the meaning of the story that I wanted to tell. I’d never scripted a documentary before, because unlike a short film, it’s all improv. However, it taught me a lot. I think that the biggest problem I had was figuring out what footage I wanted to use. But as I did that, I found a lot more focus and organization in my project.
In the article, it discusses that “this year, something is missing. Gone are the snowflakes, the swirls, the vintage ornaments and inspirational quotes that have traditionally adorned the tall, grande and venti cups holding your peppermint mocha and chestnut praline lattes.This year’s cup has a minimalist design that features subtle shades of red and the Starbucks logo. According to Starbucks’ website, it was designed to “give people a piece of calm.”
However, the world of twitter and instagram were in an uproar, claiming that starbucks was killing Christmas with their “blank canvas” idea.
In order to keep the minimalistic style, but also bring some holiday cheer to any scrooge, I designed some coffee-cup warmers to make the cups a little more festive. Starbucks wouldn’t have to produce a million new cups, but with these additives we can celebrate the holidays with a little more pizzazz.
Here’s my idea:
I hand created these snowflakes myself in illustrator, and then arranged them into a little festive coffee-cup cover. I think that adding a little holiday message and the starbucks logo can make this PR problem into something really great.
I’ll be posting full construction the next upcoming weeks!
This week, I worked on my icons for my infographic!
In class, we discussed different words that correlated with our themes we were discussing. For me- it was all wedding.
I loved the idea of wedding rings, wedding shoes and bells, and a temple.
I’m also creating a bridge as well that we walked to on our first date, where Tanner asked me to be his girlfriend. I’m also creating a lock, which we have on that bridge as well. I’m playing around with different concepts as well- so I created this tree and woodland theme as well. Another idea that I had was to do something like this:
I love the minimalism and mixture of photography with lines. I created those too. It’s been a lot of drafts, mixing things around and trying things out! I’d love advice on what you like best!
October 5- Research the dates, calculate the hours and determine the tidbits of information I’ll be using in my infographic October 7 – Sketch vectors and graphics that I’ll be using October 9 – Scan and design in illustrator October 10 – Create graphics and data, use illustrator programs to perfect them. October 13 – Gather feedback, refine and go through programs
October 19 – Add in extra changes, and begin blog post about it
October 20 – Finalize and finish- it’s done!


 I also gained a ton of experience through watching this video: